Install ownCloud on a Raspberry Pi
Contents
Introduction
First, lets start with why you might want to install ownCloud. ownCloud is an online file storage server which provided similar facilities to Google Drive or Drop Box. However once installed, it is completely under your control and the amount of file storage available is dependent upon the size of the hard disk you plug in. Thus once your ownCloud server is up and running you could potentially cancel any subscriptions to those other online services, or in my case consolidate the multiple services into one place.
Although this tutorial deals specifically with the Raspberry Pi, it is also available for Linux and Windows, I believe it can be installed on Mac's but it is not fully supported at present.
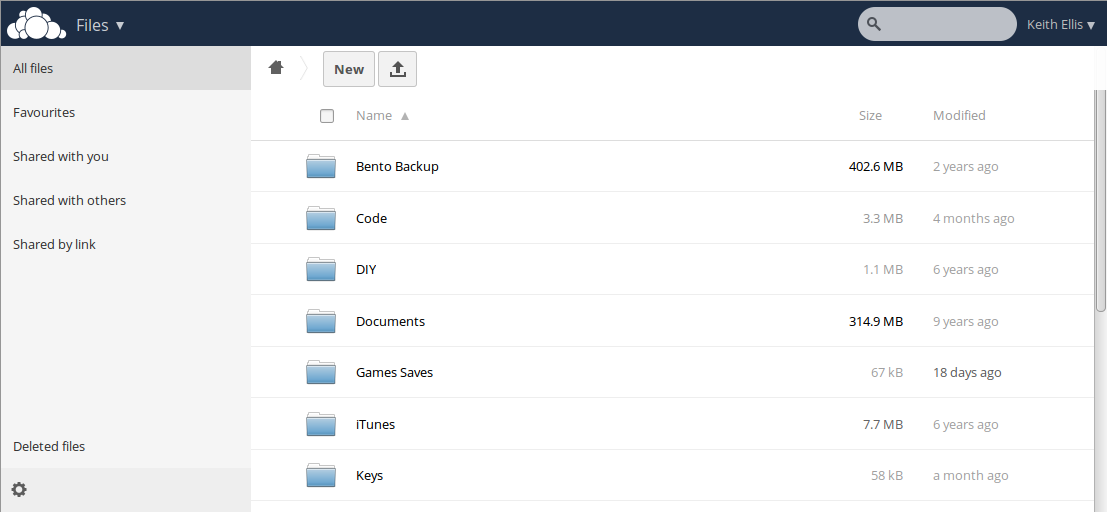
In addition to storing your files online (on your own server) there are client apps available for Linux, Windows, Mac, iOS and Android along with a web app, making accessing and updating your files from anywhere seamless. It has basic file version tracking and sharing facilities, both with registered users of the system or via public links. It is also possible to set up calendars, contacts, bookmarks and other applications within ownCloud, which can mostly be setup to synchronise with clients though CardDAV or CalDAV.
If you would like to try out ownCloud before going through the install process you can point your web browser at https://demo.owncloud.org
This tutorial will show you how I installed ownCloud onto my Raspberry Pi. I have done this by researching the internet and a bit of trial and error.
I am not a Linux, ownCloud or security expert in anyway, but I do believe if you follow the instructions here you should end up with a secure instance of ownCloud. If you feel this tutorial could be improved in any way or I state incorrect facts please do let me know, or feel free to edit yourself, this is a wiki after all.
If you do not understand what I am doing and you simply get your own ownCloud instance up and running by following these instructions you do so at your own risk, I am not providing any warranty or guarantee that your setup will be secure. I do however encourage you to give it a go, just do not rely upon it for any business or personal critical services. This should be thought of as a learning experience.
I am assuming your will be using a Raspberry Pi 2 model B with a fresh install of Raspbian on an 8GB SD card. I have used the standard Raspbian image released on 16th February 2015, I have not tried it with a NOOBS installation but it should still work. Network connectivity will be provided by an ethernet cable plugged into a router providing a direct connection to the internet, you could use wifi, but ethernet will be more reliable.
To access from an external network and to employ some of the security features, such as enabling SSL, you will need a domain name, with access to the admin control panel and a fixed IP address.
If you do not have a Raspberry Pi 2, why not? This tutorial will work on a Raspberry Pi model B, but be warned, it is very slow and in my opinion, too slow for any practical purposes.
This will quite a long tutorial, some of the steps are optional, but since the optional ones will provide you with some level of security I do encourage you to complete all the steps.
I do expect you to have a basic knowledge of Linux and to be able to connect remotely to your Raspberry Pi via SSH, where I skip over some of the basic details I will try and link to relevant tutorials else where. If you get stuck, you could always pop down to a Makerspace meeting and we can run through any issues.
Initial setup
Install Raspbian
- Download and install Raspbian, follow the instructions on the Raspberry Pi web site
- Find the IP address of your Raspberry Pi, if using a keyboard and mointor
ifconfigwill give you your IP address, otherwise use an app such as Fing - Login via SSH,
ssh [username]@[ipaddress]from a remote computer, Any Linux or Mac will work, if you are using Windows you may need to download PuTTY - Run
sudo raspi-configand expand file system - Reboot
sudo reboot
You may want to view the following:
- RaspberryPi.org guides on remotely access a Raspberry Pi
- My YouTube tutorials for using SSH
Set static IP address
- Edit
/etc/network/interfaces - Change
eth0interface fromdhcptostatic - Add address, netmask and gateway
For example:
auto lo
iface lo inet loopback
iface eth0 inet static
       address 192.168.54.10
       netmask 255.255.255.0
       gateway 192.168.54.1
allow-hotplug wlan0
iface wlan0 inet manual
wpa-roam /etc/wpa_supplicant/wpa_supplicant.conf
iface default inet dhcp
address should be the IP address you want to assign the Pi and it should be outside of the dhcp range assinged by your router to ensure there are no IP clashes.
netmask in most cases will always be 255.255.255.0
gateway should be the IP address of your router, you can find this with the command sudo route -n
The Pi Hut has a good tutorial for assigning static IP addresses
Install ownCloud
Full instructions are here, here, but summarised below.
The version of ownCloud in the Raspberry Pi repositories is very old, version 4 I think. The latest version at time of writing is version 8.03. we therefore cannot use `apt-get` to get the latest version.
We need to link apt-get to the Suse repositories so we can use apt-get to get latest version.
sudo bash // (to get a root shell, you will need to enter your admin password, on the Pi probably your usual password 'raspberry' by default)
echo 'deb http://download.opensuse.org/repositories/isv:/ownCloud:/community/Debian_7.0/ /' >> /etc/apt/sources.list.d/owncloud.list
Add key to trust repository (optional, prevents questioning prompts)
wget http://download.opensuse.org/repositories/isv:ownCloud:community/Debian_7.0/Release.key
apt-key add - < Release.key
Then install ownCloud, now we have added a link to the opensuse repositories we can simply use the following commands
apt-get update
apt-get install owncloud
The setup will ask you to create a new admin password for mySQL, enter this when prompted, make a note of it and do not forget it.
ownCloud is now installed, but do not log in or create an admin account yet.
You can check it is installed by going to:
http://ipaddress/ in a browser of your choice - you should get the standard Apache landing page
http://ipaddress/owncloud - you should get the ownCloud page asking you to create an admin account - DO NOT CREATE ADMIN ACCOUNT YET
If you really want to give ownCloud a quick try, you could create the admin account now, but once it is done a few things are hard to change, so I would recommend not to do this.
- The first is the database, ideally for a system that will have lots of files stored in it you will want to use mySQL, rather than default SQLite.
- In addition the other thing to consider is where all the user data files will be stored, the Raspberry Pi runs off an SD card, this is probably not the best place to store our data. The best thing to do would be to add an external hard drive and let ownCloud use this for its data storage. To use an external hard drive there are a few things we must do before setting up the ownCloud admin account.
Setup USB hard drive (optional)
Make a directory to mount the hard drive
cd /media
md ownCloud/
I have a USB drive formatted as ext4 plugged into my Raspberry Pi, it is named data to find out how to mount it enter the following
cd /dev/disk/by-label
ls -l
it reports
total 0
lrwxrwxrwx 1 root root 15 Apr 6 23:02 boot -> ../../mmcblk0p1
lrwxrwxrwx 1 root root 10 Apr 12 18:34 data -> ../../sda1
Here I can see my disk data is given the ID sda1
We also need to find the UUID
cd ../by-uuid
ls -l
total 0
lrwxrwxrwx 1 root root 15 Apr 6 23:02 140A-14B7 -> ../../mmcblk0p1
lrwxrwxrwx 1 root root 10 Apr 12 19:10 668ad7e7-6957-43a0-9586-77214e655226 -> ../../sda1
lrwxrwxrwx 1 root root 15 Apr 6 23:02 f24a4949-f4b2-4cad-a780-a138695079ec -> ../../mmcblk0p2
Here we can see the UUID of sda1
First lets mount it to make sure it mounts ok
sudo mount /dev/sda1 /media/ownCloud
cd /media/ownCloud
ls
If the disk is empty we will not see anything. Lets make a data directory and check it has been created
sudo mkdir data
Now lets make sure the drive is mounted at boot
sudo nano /etc/fstab
add a new line at the end
/dev/sda1 /media/ownCloud ext4 defaults 0 2
This would work fine, but if several disks are plugged in sda1 might be given to another drive, so lets replace the /dev/sda1 with the UUID It will look like this
UUID=668ad7e7-6957-43a0-9586-77214e655226 /media/ownCloud ext4 defaults 0 2
Reboot to make sure it auto mounts
Lets make sure ownCloud can write to the disk
sudo chown -R www-data:www-data /media/ownCloud/data
Note:
On the Pi2 currently there is bug and the Pi will not boot if a disk needs to mount at boot, to get over this edit /boot/comdline.txt and add the following to the end of the file.
rootdelay=3
save and reboot. If you rebooted earlier and thought you did not have a problem, do not think you are not effected by this bug, if you simply did a reboot the hard disk would not have been in sleep mode so the Pi would have booted as normal. However, if you do a shut down and restart you will probably find your Pi does not boot.
Setup mysql (optional)
Login to mySQL
mysql -u root -p
Enter your password (this was entered during the installation of ownCloud)
Create database
mysql> CREATE DATABASE owncloud;
create a user to use the new database
mysql> GRANT ALL ON owncloud.* TO user1@localhost IDENTIFIED BY 'mypassword';
Replace user and mypassword with your a new user name and password that you will use for ownCloud to log into mySQL.
Then quit
mysql> quit
Setup ownCloud admin account
Now we have setup out external hard drive and mySQL account and database we can create our admin account in ownCloud
Open a web browser and point it at ipaddress/owncloud in my case 192.168.54.10/owncloud
This should show the ownCloud create an admin account page
Expand the storage and database section and in the data folder enter the following
/media/ownCloud/data/
In the configure database section click on MySQL/MariaDB
In the database user section, enter the user name and password you added to the mySQL database file.
Then enter the name of the database you created
Keep localhost as it is.
Now create an admin account for ownCloud at the top of the page, add an admin user and password and then click Finish Setup.
Your ownCloud server is now working. We do not have any security setup yet so I strongly recommend you not put it live on the internet. For now just play around, get a feel for how it works on you local home network.
In later tutorials I will show you how to add security so, in my view, it is suitable to put live on the internet.

