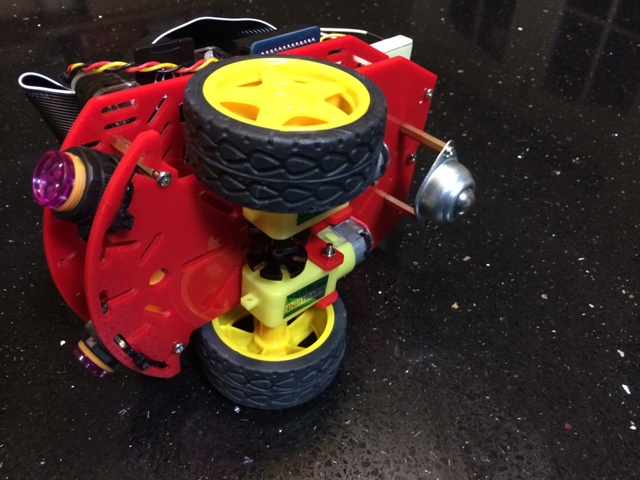
Raspberry Pi two wheeled robot
Contents
Introduction
Hello, I'm Keith Ellis, over the past few months I have been getting into the Raspberry Pi, using its GPIO (General Purpose In/Out) ports and leaning to code in Python. To enable me to really get into this I have started to built a small two wheeled robot controlled by the Raspberry Pi.
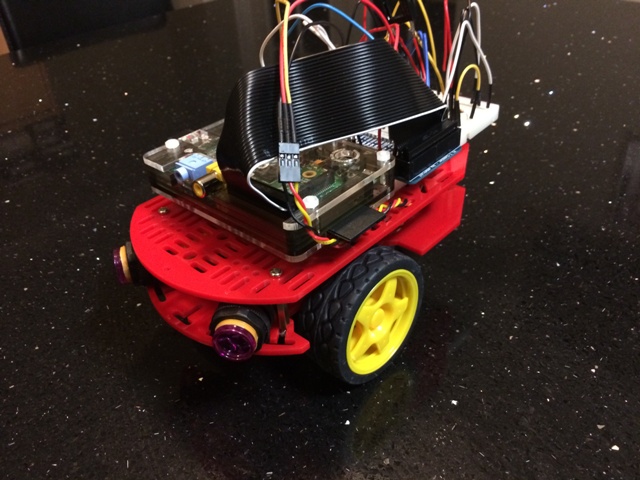
This is what it currently looks like as of February 2014, it is work in progress and I hope to continually add to it to improve the code and its sensing ability.
Parts I have used to date are:
- Magician chassis complete with two 6v geared motors - SK Pang
- Raspberry Pi model A complete with PiBow case - ModMyPi
- Wifi USB dongle ModMyPi
- 2 x half size breadboards and lots of jumper wires Maplin
- L293D motor driver ModMyPi
- 2 x Infrared obstacle sensors 4tronix
- Teensy 3.1 Arduino compatible micro controller Pimoroni
- Photo Interrupter SkPang
So taking each part in turn, I will describe what it is and how I am using it.
Description of robot components
Magician Chassis
This is the foundation of the robot, it comprises two sheets of perforated poly carbonate plastic held together with spacers and screws. Along with this came the motors and a 4 x AA battery compartment. It also comes with a caster wheel at the rear to stop it falling over.
Raspberry Pi model A
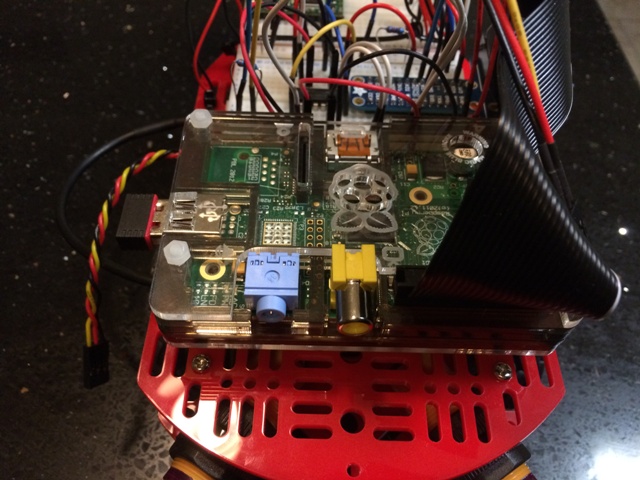
This provides the brains and control of the robot. It is running the Raspbian operating system which is the recommended OS by the Raspberry Pi Foundation It is setup to run headless, i.e. without a keyboard, mouse or monitor and is currently controlled over wifi through an SSH connection to my MacBook Air.
I have created a couple of video tutorials detailing how to setup the Raspberry Pi model A without ever needing to connect it to a monitor, mouse or keyboard. They can be seen here Video Tutorials
The Raspberry Pi is currently being powered from the mains, but since it just needs a 5v supply via a micro USB plug I intend to get a small emergency phone battery, similar to this from RS Components
I have a Python script which runs on it and I can currently drive it around, using key commands from my laptop.
Object detection
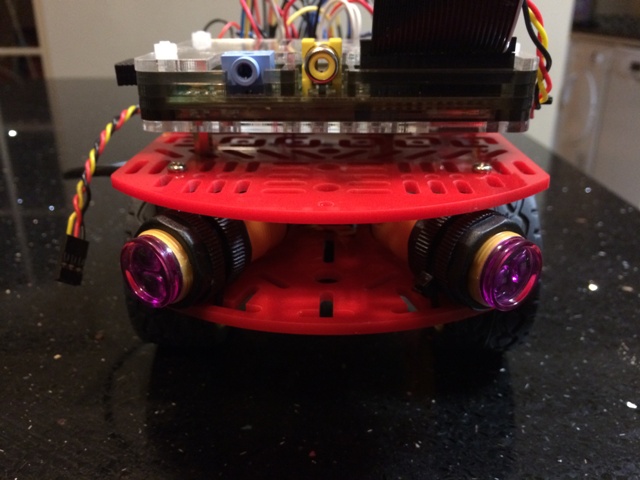
The robot has a couple of infrared object detection sensors on the front. These are new additions and I am about to implement the code so that if it is being driven forward and an object is detected ahead of it, the robot will turn to avoid the object without needing any user input.
L293D motor driver
This little chip receives input from the Raspberry Pi at 3v3 level and outputs voltage to the motors from a secondary power source, for me I am using 4 AA cells so the motors are being powered by 6v. Although there is about a 2 volt drop across the driver so I have recently purchased 6 AA cell battery holder, This will provide a 9v supply so hopefully I will get 7v going directly to the motors.
Teensy 3.1 Arduino compatible board
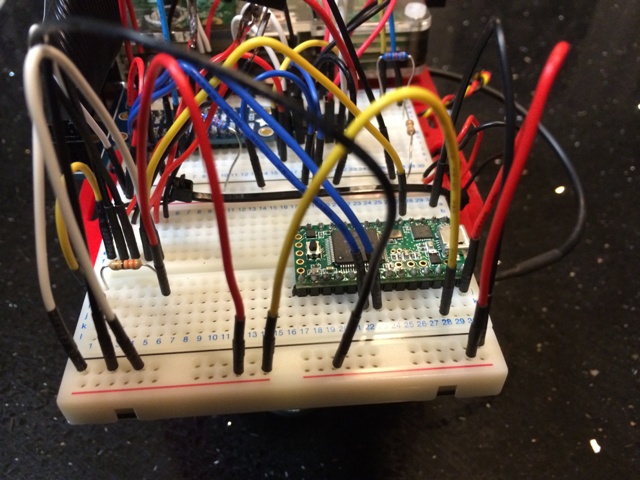
This is not actively being used, but I am communicating with it over I2C and I am thinking this will be used to control the motors and speed encoders in the future.
Future Developments
Robot Control
I am constantly working on the Python scripts, currently I use key commands from my laptop over an SSH connection. I have to press a key to start it moving and then press another key to change the direction or stop it. I would like to be able press and hold a key to make it move and upon key release the robot should stop. This week I think I have found a way to do this over an SSH connection so this will probably be coming very soon.
Speed encoders
One problem with the robot at the moment is when set to drive forward due to variations in the motors it pulls left or right. The Magician Chassis came with speed encoder discs so I am planning to use the photo interrupters connected to the Teensy 3.1 to count the rotation of each motor and if they are different make corrections to the motor speeds to make them the same. A bit of work to do here, including cutting the photo interrupters about, since they do not fit at the moment.
Pi camera
I've got a Raspberry Pi camera, so when I get a chance I want to mount this on the front and stream the feed to the controlling computer. This would allow the robot to be driven blind
Line following sensors
I also have a couple of line following sensors, so I want to setup a secondary control mode, which when activated the robot will follow a line on the floor.
Elsewhere on the web
you can find me at:
